How to Make a Bump Map from an Image
•14 min read
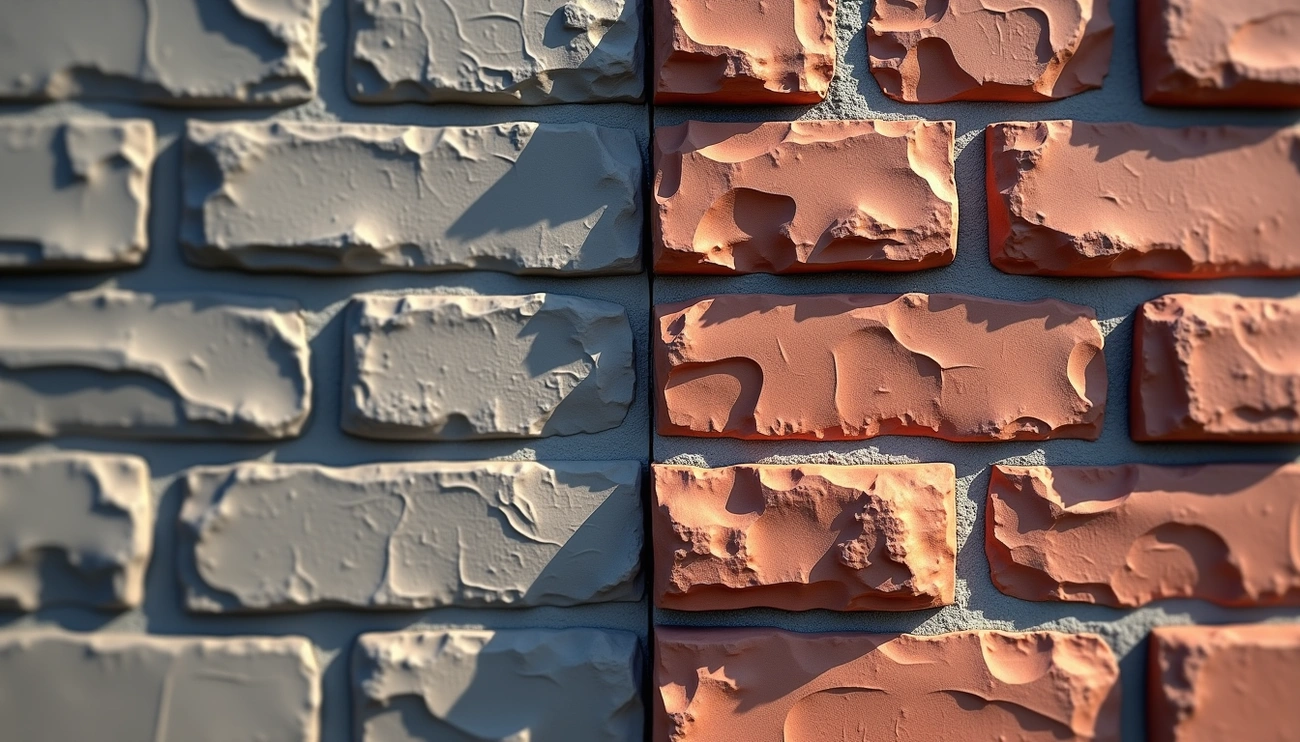
A bump map is a grayscale image that fakes surface height so lighting looks detailed without extra polygons. James Blinn published the technique in 1978; Wikipedia’s bump mapping article is still the cleanest public summary of that history. You do not need a high-poly sculpt or a baker to get a usable map. Any photo can become height-as-brightness in a browser — if you treat lighting, invert, and bit depth as first-class decisions rather than afterthoughts.
This tutorial walks through a photo-to-bump workflow you can finish in minutes, then the engine wiring that actually makes the file look right. If you already know you need directional RGB shading instead of a single height channel, skip ahead to what a normal map is or convert the result with bump to normal.
What a bump map actually stores
Each texel is one height sample. Conventionally, mid-grey is “no bump,” brighter values look raised, darker values look carved in. The renderer only tilts the shading normal. The silhouette of the mesh does not change, contact shadows do not grow, and a grazing camera still sees a flat outline. That limitation is exactly why bump maps are cheap: they are a lighting trick, not geometry.
If the outline must change — bricks that stick out against the sky, a logo that should catch a real shadow — you need displacement, preferably as a 16-bit height PNG. The three-way trade-off is covered in displacement vs normal vs bump. For a feature-by-feature table of bump versus normal only, see our Normal Map vs Bump Map guide.
Why photos make bad height if you skip prep
A camera records light, not elevation. A highlight on a glossy tile is not a peak; a shadow in a grout line is not always a valley. If you feed a lit product shot straight into a luminance-to-height shader, the bump will contain fake ridges wherever the key light hit. The same problem shows up in Substance and Photoshop workflows: artists flatten or high-pass the albedo first for a reason.
Prefer albedo, not beauty lighting
The best source is a diffuse / albedo texture, or a photo shot with even, cloudy light and the specular highlights already painted out. If all you have is a phone photo, drop the contrast of large-scale lighting before conversion, or use the generator’s blur so slow gradients (the studio wrap) do not become a dome of fake height.
Tile the source if the mesh will repeat
A 1-pixel mismatch on the left and right edges becomes a visible seam once the bump is tiled. Run the photo through the seamless texture generator first, then make the bump. Checking the tiled 2D view in the bump tool is not optional for floors, walls, and terrain.
Step-by-step: image to bump map
1. Open a local generator
The bump map generator runs in WebGL on your machine. Nothing is uploaded, which matters if the source is unreleased concept art. Drag in a PNG, JPEG, or WebP. Processing stays at the source resolution.
2. Treat luminance as height
Rec. 709 luminance (the same weights used in video) is a better height proxy than a single RGB channel unless the texture is already grayscale. Raise contrast until mortar, pores, or fabric weave separate from the field. If everything clips to black and white, you have gone too far: bump mapping has only 256 steps in an 8-bit PNG, and a binary map looks like stamped cardboard.
3. Invert when the photo lies
Dark grout should usually recede. If the photo’s grout is physically darker but optically brighter because of bounce light, invert height. Preview on a sphere and orbit the light: grooves should darken on the side facing away from the lamp. If they do the opposite, invert.
4. Kill noise, keep edges
Phone sensors add grain that becomes spiky bump. A little blur is the difference between “stone” and “orange peel.” Do not blur so much that mortar lines disappear. If you later convert to a normal map, that noise becomes even more obvious as sparkling specular.
5. Preview, then export PNG
Flat 2D view is for judging the grayscale. The sphere or cube is for judging lighting. When both look right, download PNG. For the same photo you may also want roughness and AO from the full PBR set; do not reuse the bump as a roughness map — they describe different physics.
8-bit bump vs 16-bit height
An 8-bit bump is enough for shading tricks. It is not enough for smooth displacement: 256 height steps show as terraces on a slope. If the file will drive real vertex offset, export 16-bit from the height map generator instead of stretching a bump PNG. Blender’s material displacement docs assume you understand that distinction; see Displacement in Blender materials.
Plug the map into Blender, Unity, and Unreal
Blender
Add a Bump node. Set the image’s Color Space to Non-Color. Connect Height to the bump node and Normal into Principled BSDF. Distance controls how far the fake height goes; start small. Strength is a second scale — if both are maxed, you get swimming artifacts at glancing angles.
Unity
Modern URP / HDRP Lit shaders are built around a normal map, not a grayscale bump slot. Convert with bump → normal, then set the texture type to Normal map so Unity does not apply sRGB. Legacy bump-only shaders still exist in some Built-in materials, but new work should ship a tangent-space normal.
Unreal Engine
The default lit material expects a tangent-space normal. Epic’s normal map creation guide documents the green-channel (Y) convention. Do not plug a grayscale bump into a Normal input; convert first. Height/displacement is a separate pin and wants a high-bit-depth texture, not the bump you just made for shading.
Common mistakes
- sRGB on a data map. If the engine color-manages the bump as a photo, mid-grey is no longer 0.5 and the lighting tilts. Always Non-Color / linear.
- Using the bump as a normal. RGB purple maps and grayscale height are not interchangeable. See what is a normal map.
- Tiling a non-seamless source. Fix edges with the seamless generator before conversion.
- Over-strength. If the surface sparkles when the camera moves, the bump is too strong or too noisy — not “more realistic.”
When to convert to a normal map instead
Bump is one-channel height. A normal map stores XYZ direction in RGB and shades more accurately, especially at grazing angles and on animated characters. NVIDIA’s GPU Gems chapter on bump / environment mapping is the classic explanation of why perturbing normals beats extra geometry. For production PBR, generate a normal directly with the normal map generator or the texture to normal landing page.
FAQ
Can I make a bump map in Photoshop instead?
Yes. Desaturate, run High Pass or a lighting flatten, then save grayscale. Photoshop does not give you a live 3D sphere under a moving light unless you also use a 3D previewer. The browser generator is faster for iteration; Photoshop is better if you already have a layered albedo file.
Is a bump map the same as a height map?
Same kind of data, different job. Height/displacement is meant to move vertices. Bump is meant to fake that motion in the shader. File format overlap is why people mix the names. Use 16-bit when the mesh will actually move.
Will this work for game-ready tiling materials?
Yes, if the source tiles. Combine seamless conversion, then bump or normal, then roughness from the same photo via the PBR generator.
Generate a bump map now
Free, no account, PNG export at source resolution. Processing stays on your device.
Open bump map generator