Displacement vs Normal vs Bump Map: Which Texture to Use
•15 min read
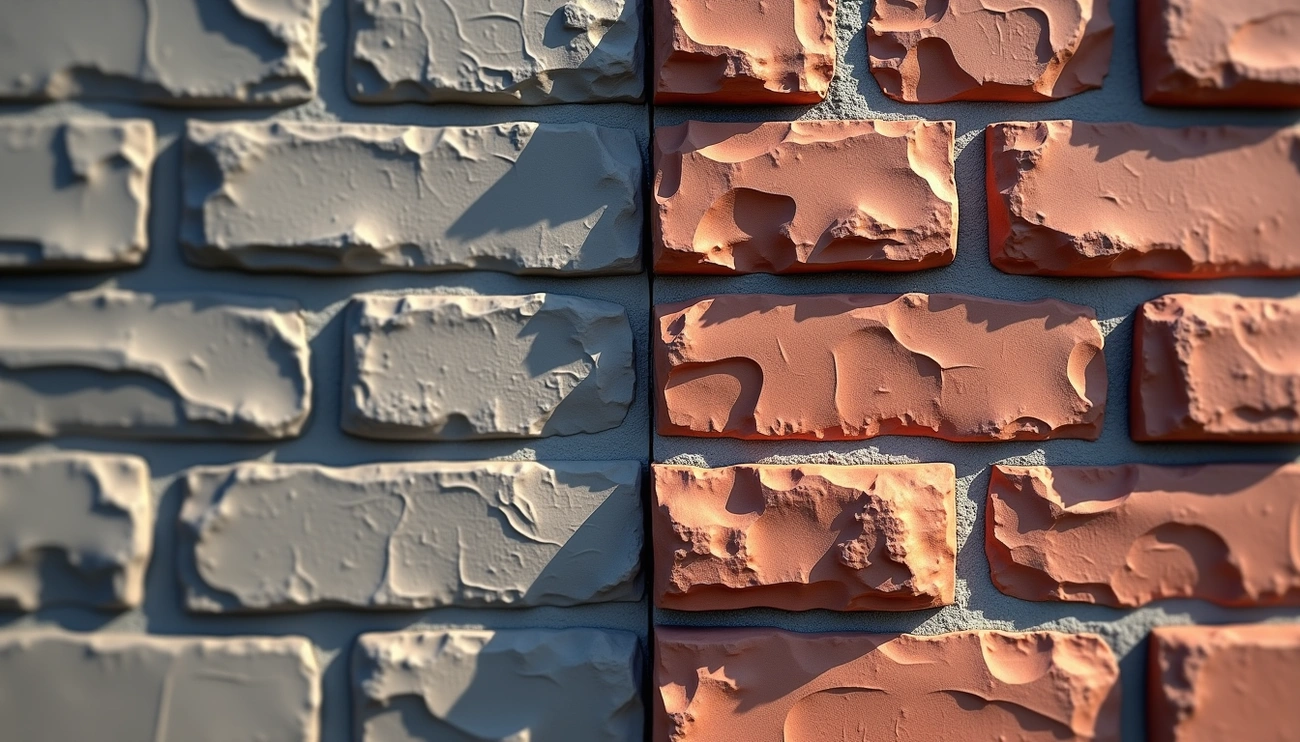
Three maps get confused because they often start from the same photo. They do three different jobs. Bump and normal never move the mesh; displacement does. Wikipedia’s displacement mapping overview is the canonical definition: vertices offset by a texture. This article is the follow-up to Normal Map vs Bump Map, which stays on the two shading-only techniques.
If you pick the wrong slot in the material, you get either a flat silhouette with noisy lighting, or a melted mesh with terraced slopes. The rest of this guide is how to avoid both.
Quick comparison
| Map | Stores | Silhouette | Typical use |
|---|---|---|---|
| Bump | 8-bit grayscale height | Unchanged | Tiny pores, cheap mobile detail |
| Normal | RGB tangent-space direction | Unchanged | Game assets, characters, PBR |
| Displacement / height | Grayscale elevation (16-bit preferred) | Changes | Hero close-ups, terrain, film |
| Parallax / POM | Height used in the pixel shader | Mostly unchanged | Floors and walls in mid-range games |
Bump maps: shading only
Bump mapping perturbs the shading normal from a height field. It is the cheapest of the three and still useful for micro-detail that would be wasted as geometry. Generate one with the bump map generator or follow how to make a bump map from an image. Need a grayscale stand-in from an existing normal (legacy pipeline, or a quick preview)? Use normal to bump— and remember that conversion is lossy. History lives on Wikipedia: Bump mapping.
Failure mode: viewing the mesh edge-on. The outline stays a smooth cage while the interior shading claims there are ridges. That lie is acceptable on a distant wall. It is not acceptable on a hero rock against the sky.
Normal maps: directional shading
A normal map is what real-time engines actually want for most surfaces. It stores XYZ in RGB so lighting can lean in any direction, not just up and down. See what is a normal map for tangent space, Y-flip, and compression. Blender’s Normal Map node and Unity’s Standard Shader normal slot both assume Non-Color / linear data. Create one online with the normal map generator.
Do not plug a purple normal into a displacement socket. The engine will interpret RGB as height and the mesh will explode along random axes. Epic’s Unreal normal map docs are about shading maps, not World Displacement.
Displacement: real geometry
Displacement (often driven by a height map) moves vertices along their normals. Silhouettes, contact shadows, and self-occlusion become real — and so does the cost. You need enough tessellation, Nanite-style dense geometry, or an offline subdiv so there are vertices to move. A 500-triangle cube cannot express a brick wall no matter how good the height PNG is.
Blender documents the material socket in Displacement in materials. Midlevel (the “zero height” grey) must match how the map was authored or the whole object inflates. Scale is in object units; a map that looks subtle on a 2-meter rock will destroy a 2-centimeter bolt.
Why 16-bit is not optional
An 8-bit PNG has 256 height steps. Spread those across a gentle hillside and you get terraces. A 16-bit PNG has 65,536 steps. Terrain, skin, and hero stone should export 16-bit from the displacement map generator or the height map generator. 32-bit EXR is overkill for most game work and a requirement for some film displacement caches.
Vector displacement
Scalar height only moves along the normal. Vector displacement (usually a 32-bit EXR) can move sideways — undercuts, ears, fabric folds. Photo-to-height tools cannot invent that. If you need undercuts, sculpt and bake; do not expect a phone photo conversion to grow a cavity that the camera never saw.
Parallax as a middle ground
Parallax occlusion mapping (POM) ray-marches a height field in the pixel shader. It fakes extra depth on floors and brick walls without tessellation. The silhouette still lies, and the technique is heavy on mobile GPUs. Use it when you cannot afford displacement but a flat normal looks too cardboard. It still wants a clean height source — the same 8-bit vs 16-bit rules apply if the effect is strong.
A practical stack (how studios actually combine them)
Hero rock, camera 30 cm away. 16-bit displacement for the chunky shape, tangent-space normal for chip detail, optional extra bump or a high-frequency normal layer for grit. Roughness from a separate map so chips are shinier than dirt.
Background building. Normal only. Maybe POM if the player can walk up to the facade. No displacement.
Mobile character. One compressed normal. Skip bump-plus-normal stacks; the extra sample is rarely worth it.
The PBR map generator outputs normal, roughness, AO, 16-bit height, and metallic from one photo so you can assign each file to the right slot instead of stretching one grayscale across every input. Pair tiling with the seamless generator before you generate maps, or every technique will show the same edge seam.
Engine notes
- Blender: Bump node for shading, Displacement socket for geometry, Normal Map node for RGB. Subdivision Surface or Adaptive Subdivision must exist or displacement is a no-op.
- Unity: Lit / HDRP want a normal map. Height as parallax is a shader feature, not a default. True tessellation displacement is HDRP / custom, not URP default.
- Unreal: Normal input is RGB. World Displacement / Nanite displacement is height. Mixing them up is the number-one import bug after Y-flip.
FAQ
Is a height map the same as a displacement map?
Same family of grayscale elevation. “Height” often means terrain or a POM input. “Displacement” emphasizes vertex offset in a material. Our height and displacement tools share the 16-bit engine with different copy and URLs so search queries land on the right page.
Can I use one file for all three?
You can derive a normal from height, and a bump is already height. You cannot derive accurate height from a normal without solving an integration problem (and losing low-frequency shape). Start from height when you need displacement; derive the normal from that. The bump to normal converter exists for that direction, not the reverse as a source of truth.
Why does my displacement look stepped?
8-bit quantization, too little subdivision, or an over-cranked scale. Export 16-bit, subdivide, then lower scale until the silhouette is believable.